
Before you begin, make sure you read and understand the operator’s manual, installation instructions, and all other safety instructions before setting up and using this equipment. Improper installation, adjustment, alteration, service, or maintenance can cause property damage, injury, or death. Any modification to this equipment will void the warranty and may cause a hazardous condition.
Initial Setup
Once you have removed all the packaging and tape, place the unit on a solid surface base. If decals need to be installed, refer to the decal installation section of the manual. Before use, clean the unit according to the maintenance and cleaning instructions in the manual. After cleaning is complete, you are now ready to plug in the machine. Make sure all switches on the machine are off before placing the equipment in the receptacle.
Preparing the Nacho Cheese Dispenser
Before turning on the machine, insert an unopened bag of product into the upper cheese bag tray. After inserting the product bag, close the door and turn on the power switch. Allow unopened bag in dispenser to preheat to at least serving temperature of 140 degrees Fahrenheit. At room temperature, this takes about four hours. After preheating, you can install the cheese bag.
Installing the Cheese Bag
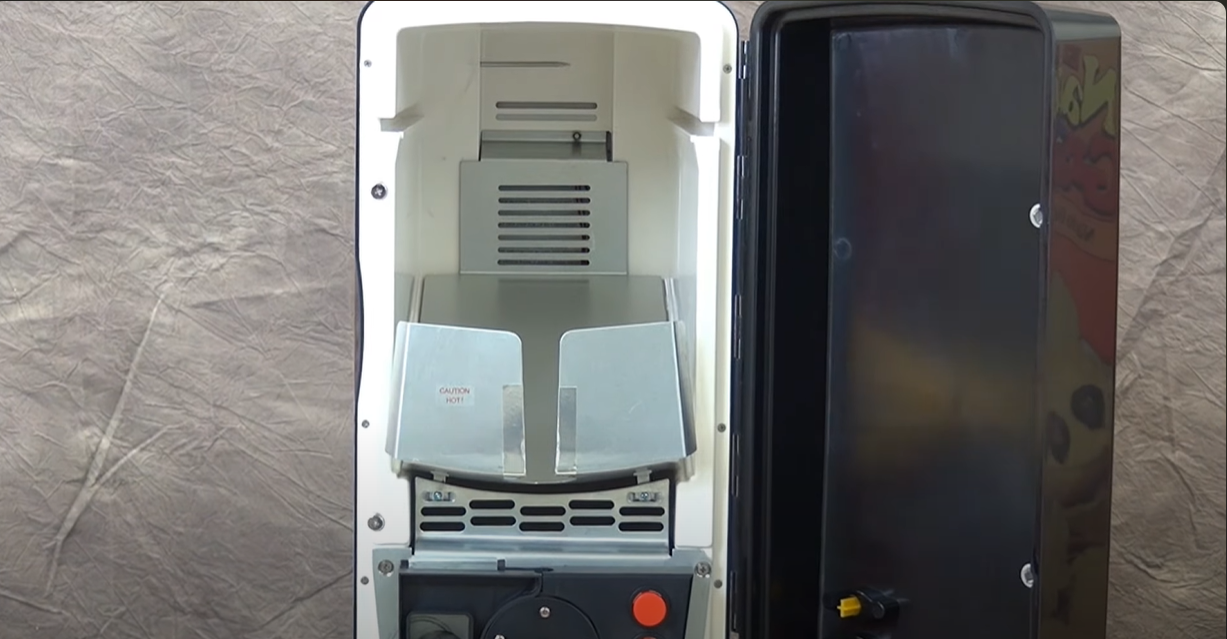
The dispenser is equipped with a bag support tray to hold the cheese bag in use and an upper cheese bag tray to hold the cheese bag for pre-warming, which currently holds your pre-warmed cheese. has happened To begin with, you need to remove the top cheese bag tray with the product and set it aside. Next, you need to add a basket liner to the bag support tray opening to provide support for the product bag.
Attaching the Dispenser Tube
To install your product in the Nacho cheese dispenser, make sure you have a new dispenser tube ready. First, pull the ring on a bag of cheese to remove the fitting cover. Take your new dispenser tube and attach the tube to the bag fitting. When you insert the tube, the dispenser tube will pierce the inner seal of the bag. Make sure the cap is securely threaded onto the bag fitting.
Positioning the Cheese Bag
Next, place the cheese bag in the support tray with the spigot and tube facing forward and down through the tray opening. Open the tube clamp by turning the cam counterclockwise. Then, guide the tube through the pump slot from top to bottom. Close the tube clamp by turning the cam clockwise before closing the dispenser door.
Preheating the Next Bag
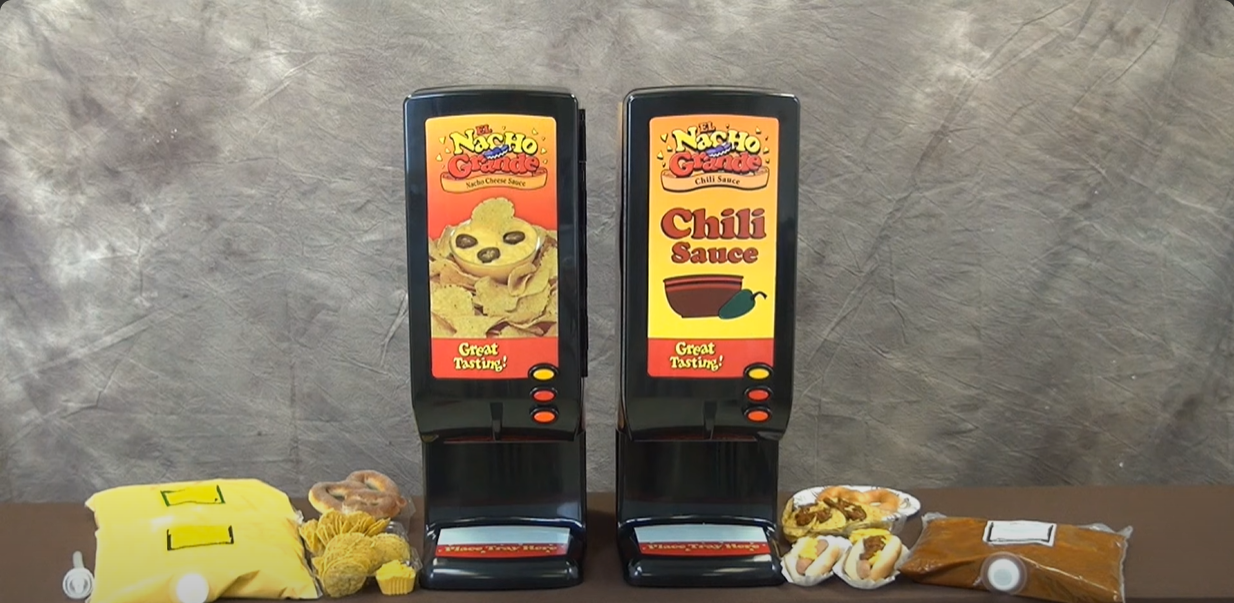
Place another unopened bag of cheese in the tray to preheat for your next bag. Now, you are ready to enjoy your nachos and cheese. Watch the cheese being poured onto your tray, then dip and enjoy.


